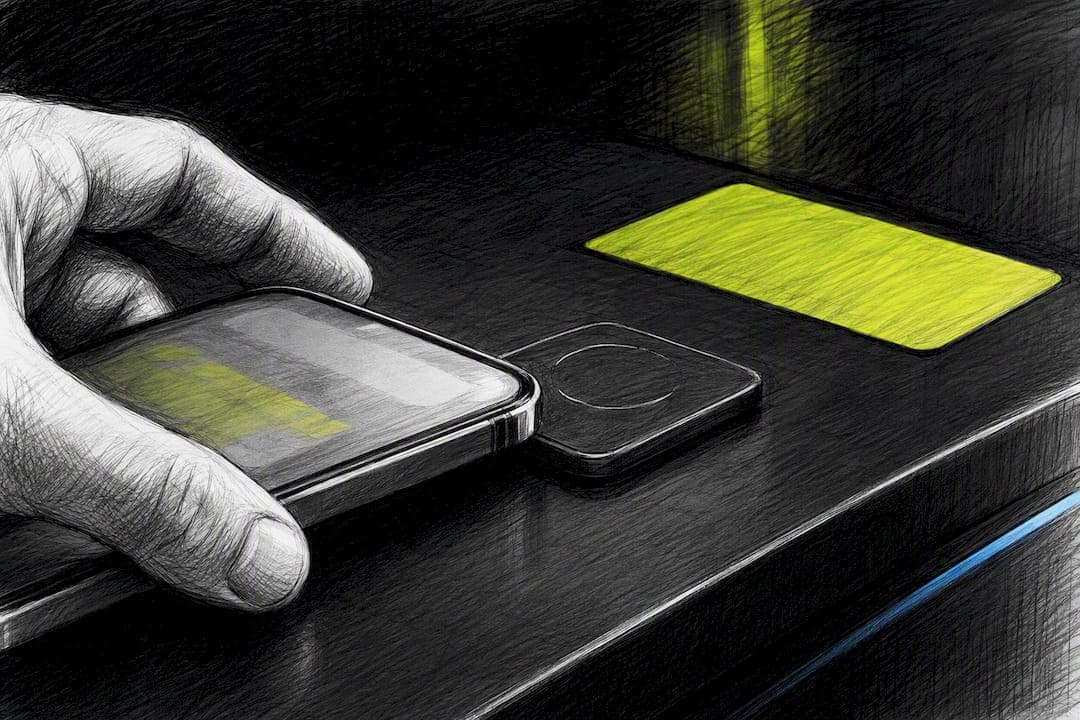
An App Clip is a lightweight, task-specific slice of your full app, capped in size and built for a single job, from ordering coffee to renting a scooter, without an install. Build one when a user needs to complete a real-world task in seconds, not browse a catalog. Sign in with Apple and Apple Pay handle authentication and checkout, so friction never becomes the reason someone walks away.
TL;DR:
- App Clips should be under the size limit set by Apple, with code sharing and on-demand assets critical to avoiding bloat.
- They are most effective for high-intent, quick tasks like checkout, rentals, and event entry, driven by physical triggers or simple URLs.
- Sign-in with Apple and Apple Pay facilitate seamless, one-tap authentication and payment, minimizing friction in the user journey.
- Proper setup of invocation methods and domain associations in App Store Connect is essential for reliable launch and discovery.
- If a task requires multiple screens or complex interactions, a full app or mobile web experience may be more appropriate.
Table of Contents
- What Is an App Clip, and How Does It Actually Behave?
- Where Do App Clips Actually Win for Users?
- How Big Can an App Clip Be, and How Do You Split Your Code?
- How Do You Add an App Clip Target in Xcode?
- How Do You Configure App Clip Discovery and Invocation?
- How Do You Handle Sign-In, Payments, and the Move to the Full App?
- What Should You Test Before Shipping an App Clip?
- What Are the Privacy and Lifecycle Rules You Need to Respect?
- App Clips for E-Commerce: What Actually Moves Revenue
- When Should You Skip Building an App Clip Entirely?
- Sources
What Is an App Clip, and How Does It Actually Behave?
An App Clip isn't a stripped-down app icon on the home screen. It's a temporary, ephemeral experience that launches from a physical or digital trigger, does its job, and then quietly disappears from the device if the person never opens it again. That lifecycle detail matters more than most teams realize when they first scope a project: you're not designing a mini app, you're designing a moment.
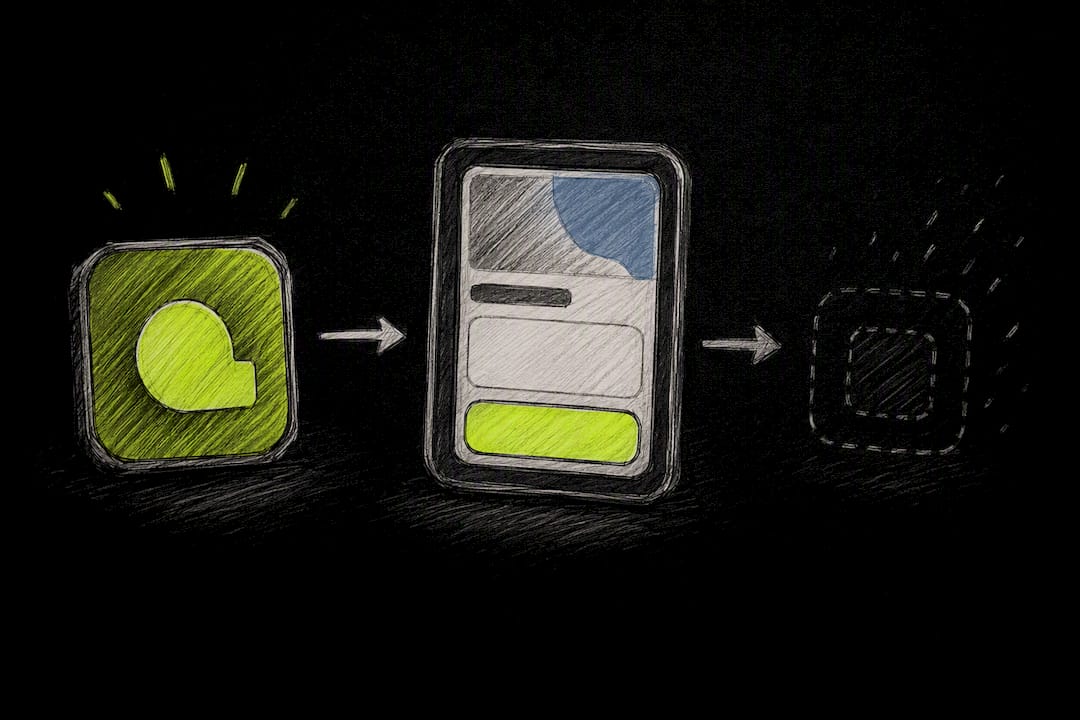
Apple's design guidance is blunt about the intent. App Clips exist to solve a single, real-world task quickly. The App Clip loads over the network, runs natively, and gets discovered without a trip to the App Store search bar. That discovery layer is the entire point.
Users encounter App Clips through several surfaces, and each one shapes a different use case:
- App Clip Codes (Apple's proprietary scannable code, sometimes with embedded NFC)
- NFC tags placed at a checkout counter, kiosk, or rental station
- QR codes printed on packaging, menus, or signage
- Safari Smart App Banners on your mobile website
- Links shared in Messages or surfaced in Maps
- Siri Suggestions based on location and habit
That range comes straight from Apple's App Store Connect documentation on offering App Clip experiences, and it's worth studying closely because your invocation method dictates your UX. A QR code scanned from three feet away needs a different first screen than an NFC tap that happens in half a second.
The size ceiling and single-task focus aren't limitations you work around. They're the constraint that forces good product decisions. If your App Clip needs five screens to explain itself, it's not an App Clip. It's a full app pretending to be one.
Where Do App Clips Actually Win for Users?
The best App Clips share one trait: the user already knows exactly what they want, and the App Clip just removes the steps between wanting it and getting it. Here's where that pattern plays out in practice.
- Instant checkout at a physical point of sale. A shopper taps an NFC tag at an unattended kiosk, an App Clip surfaces the product and price, Apple Pay handles the transaction, and the purchase completes before they'd have finished unlocking their phone the traditional way.
- Short-term rentals. Scooters, bikes, and parking meters are the canonical example. The user scans a code on the vehicle, the App Clip shows availability and price, and Sign in with Apple gets them riding without a signup form standing between them and the handlebars.
- Restaurant and venue ordering. A QR code on a table launches a menu, takes an order, and processes payment, all without asking the diner to download an app they'll delete the next day.
- Event check-in and ticketing. A Messages link or Maps listing opens an App Clip that pulls up a ticket or reservation instantly, no app switching required.
- Product demos. A shelf tag or ad triggers a scoped demo of a feature, letting a shopper try something before committing to a full install.
The design rule underneath all five: one high-intent action, minimal permission requests, and no login wall unless Sign in with Apple and Apple Pay handle authentication and checkout can clear it in one tap. Apple's own guidance is explicit that App Clips should avoid complex UIs and stay narrow. Every screen you add is a screen someone abandons before finishing.
How Big Can an App Clip Be, and How Do You Split Your Code?
Size discipline is the technical constraint that shapes almost every other decision in an App Clip project. Apple has raised the ceiling over time, and the WWDC23 session on App Clips documents the most recent increases alongside default App Clip links, so check current limits in Xcode before you assume last year's number still applies.
Two tools matter here. The App Thinning Size Report, generated during archive, breaks down exactly what's contributing to your compressed and uncompressed size, per architecture and per asset. Read it before you optimize blindly.
Practical steps for staying under budget:
- Move shared logic into a framework both your full app and App Clip target link against, so you're not duplicating code.
- Use active compilation conditions to strip App Clip builds of features (analytics SDKs, unused view controllers) that only the full app needs.
- Put imagery and video in asset catalogs with on-demand resource tagging rather than bundling everything into the binary.
- Reference Apple's own guidance on designing App Clips around sharing code and assets between targets; it's the fastest path to hitting size limits without gutting functionality.
Background assets, downloaded after the App Clip launches rather than bundled in, are acceptable for things like fonts or secondary imagery, but treat them as a UX risk. If the network is slow, your first screen needs to work without them.
Pro Tip: Run the App Thinning Size Report after every dependency you add, not just before submission. A single analytics pod or image library can quietly push you past the ceiling, and you won't notice until archive day if you're not checking incrementally.
How Do You Add an App Clip Target in Xcode?
Adding the target itself takes minutes. Getting the shared code and assets set up cleanly is where most of the real work happens. Here's the sequence that avoids rework later.
- Open your existing Xcode project and add a new target using the App Clip template. File > New > Target, then search for "App Clip" in the template picker. Xcode wires up the basic entitlements and Info.plist entries automatically, but you'll still need to configure your bundle identifier so it's a child of your full app's identifier (com.yourcompany.app.Clip is the standard pattern).
- Decide what's shared versus App Clip only. Anything both targets need, networking layers, models, core UI components, belongs in a shared framework or a Swift package, not duplicated across targets. Add that framework as a dependency to both the full app target and the App Clip target in Build Phases.
- Assign target membership carefully on assets and source files. For every Swift file, image, and storyboard, check the File Inspector's target membership checkboxes. A common mistake is leaving heavyweight view controllers checked for the App Clip target when they're only used by the full app, which silently bloats your size report.
- Use compilation conditions to branch behavior. Wrap App Clip only code in
#if APPCLIPconditionals, and set theAPPCLIPactive compilation condition in your App Clip target's build settings. This lets one shared file behave differently depending on which target compiles it, without maintaining two separate copies. - Configure the App Clip's entry point. Your App Clip needs its own lightweight
Appstruct (for SwiftUI) or scene delegate (for UIKit) that handles the invocation payload, typically aNSUserActivityor URL, and routes straight to the relevant screen. Don't route through your full app's onboarding or tab bar structure; the App Clip has its own minimal navigation. - Build and run on the Simulator first. Select the App Clip scheme, and Xcode will prompt you to simulate an invocation URL. This is the fastest feedback loop for checking that your routing logic actually opens the right screen instead of a blank state.
- Test on a physical device with a real invocation. Simulator testing catches most bugs, but NFC and camera-based QR scanning only behave realistically on hardware. Use the Xcode "App Clip Invocation" testing option under the scheme editor, which lets you specify a URL without needing a live NFC tag yet.
- Check both compressed and uncompressed size in the build report. Product > Archive, then open the App Thinning Size Report from the Organizer. If you're near the limit, go back to step 3 and audit target membership again before touching your actual features.
Apple's own App Clip creation walkthrough covers the Xcode mechanics in more depth if you want the canonical reference alongside this sequence.
Pro Tip: Keep your App Clip's entry point dumb on purpose. If your invocation handler has more than a screen's worth of branching logic, that's a sign your App Clip is trying to do too much. Push the smarts into the shared framework and keep the App Clip target thin.
How Do You Configure App Clip Discovery and Invocation?
Building the App Clip is half the work. Making sure it actually launches where and when you expect it to is the other half, and it's handled almost entirely in App Store Connect rather than Xcode.
You'll choose between a default experience and advanced experiences. The default experience is the fallback: whatever URL pattern doesn't match a more specific configuration lands here. Advanced experiences let you tie specific URLs, or specific physical locations, to tailored App Clip cards, each with its own title, subtitle, and header image. Apple's App Store Connect help documentation walks through both, and the distinction matters most once you're running more than a single storefront or location.
One efficient pattern for multi-location businesses: a single App Clip binary tied to dozens or hundreds of physical locations through advanced App Clip experiences, each presenting a tailored card, without maintaining separate binaries per location. That centralizes your build and test overhead while still letting each storefront feel custom.
| Invocation method | Where it fits | Setup location |
|---|---|---|
| App Clip Code (NFC + visual) | Physical retail, kiosks | App Store Connect + printed/embedded code |
| QR code only | Signage, packaging, menus | Associated domain + generated code |
| Safari Smart App Banner | Your mobile website | Associated domain file (apple-app-site-association) |
| Messages / Maps link | Shared conversations, business listings | App Store Connect invocation URL |
| Siri Suggestion | Location and habit based | System-driven, no manual placement |
Getting this right requires:
- Associating your domain via the
apple-app-site-associationfile, verified and hosted at your domain root. - Registering each invocation URL pattern in App Store Connect and mapping it to the right experience.
- Uploading a header image, title, and subtitle for every advanced experience card, since these are what users actually see before tapping.
- Testing that your associated domain resolves correctly; a broken AASA file is the single most common reason an App Clip fails to launch from Safari or Messages.
App Clip Codes tend to produce the highest trust and conversion in physical retail settings, according to Apple's own App Clip experience configuration guidance, largely because the scan-to-launch moment feels deliberate rather than accidental.
How Do You Handle Sign-In, Payments, and the Move to the Full App?
App Clips work because they remove the two biggest checkout killers: account creation and payment entry. Both are solved natively.
Sign in with Apple gives you a verified identity in one tap, no password, no form. Apple Pay handles payment with Face ID or Touch ID confirmation, and Apple Support's App Clip guidance confirms both are first-class citizens inside the App Clip environment, not workarounds. If your checkout flow requires anything more than these two primitives, you're adding friction the format was built to eliminate.
State sharing between the App Clip and your full app takes a bit more planning:
- CloudKit is the cleanest path for syncing order history, saved preferences, or account data that needs to persist if the user later installs the full app.
- Shared containers and keychain access work if you're using an App Group, letting the full app pick up credentials or session tokens the App Clip already established, provided the user installs before the App Clip's local data is purged.
- UserDefaults in a shared App Group is fine for lightweight state, but don't rely on it for anything sensitive or anything you need long-term, since App Clip data doesn't persist indefinitely.
Once the task is done, prompt for the full install, but only after the value is delivered. A well-timed overlay after a successful order ("Get the app for order tracking and faster checkout next time") converts far better than a banner shown before the user has gotten anything out of the App Clip.
What Should You Test Before Shipping an App Clip?
Testing an App Clip means testing invocation as much as you test the app logic itself, since a broken trigger is functionally the same as a broken feature.
- Locally, use Xcode's App Clip invocation testing under the scheme editor to simulate URLs without needing a physical NFC tag or printed code yet.
- On device, test with the actual QR code, NFC tag, or link you'll deploy, since Simulator behavior and camera/NFC hardware behavior diverge more than developers expect.
- In TestFlight, verify permission prompts appear at the right moment (not before the user has context for why you're asking), confirm invocation reliability across a few different network conditions, and double check your size report one more time since TestFlight builds sometimes surface bloat that local archives don't flag as clearly.
- Confirm background assets load gracefully on a throttled connection; if your first screen depends on a downloaded image that hasn't arrived yet, you need a fallback state, not a blank screen.
- Before submitting for App Review, prepare representative URLs Apple's reviewers will use to test invocation, following the structure outlined in Apple's App Clip creation documentation, and make sure each one actually launches the intended experience end to end.
App Review treats App Clips with the same scrutiny as full apps, sometimes more, because reviewers are testing an invocation flow they've never seen before rather than tapping a familiar icon. Give them a URL that works on the first try.
What Are the Privacy and Lifecycle Rules You Need to Respect?
App Clips operate under tighter data rules than full apps, and getting this wrong is a fast way to draw an App Review rejection or a frustrated support ticket.
- App Clip data, including any locally cached state, is removed from the device after a period of inactivity, and the App Clip itself disappears if the user doesn't return to it or install the full app. Apple Support's lifecycle documentation covers the removal behavior directly.
- Sign in with Apple credentials established during an App Clip session have their own retention window tied to that lifecycle, so don't assume a returning user's identity will still be there weeks later.
- Notifications scheduled from an App Clip are capped at up to eight hours per launch, a deliberate limit that keeps App Clips from behaving like a persistent app with unlimited push access.
- Location confirmation prompts, when your App Clip needs to verify proximity to a physical location, follow the same permission model as full apps, and users can decline without breaking the core task.
- Age restrictions and Ask to Buy apply to App Clips exactly as they do to full apps; a minor's account under Ask to Buy will trigger the same parental approval flow for any purchase made inside the App Clip.
Design around the eight-hour notification window rather than fighting it. If your task naturally resolves faster than that (checkout, ticketing), it's a non-issue. If it doesn't, that's a signal the task might belong in the full app instead.
App Clips for E-Commerce: What Actually Moves Revenue
Here's where this stops being a spec sheet and starts being a growth lever. E-commerce teams building on Shopify, BigCommerce, or a custom storefront can wire an App Clip into checkout as a low-friction alternative to a full mobile app, and the real payoff shows up after checkout completes, not during it.
- Integration pattern: trigger the App Clip from a QR code at unboxing, a Smart App Banner on your mobile site, or a link in an SMS cart-recovery flow, and route straight to a single product or cart, never a full catalog.
- Attribution chain to test: invocation event, Apple Pay completion, then full app install rate in the days after. Each link in that chain tells you something different about where shoppers drop off.
- The recovery gap most teams miss: shoppers who invoke an App Clip but don't finish checkout are still recoverable, even without an email or phone number captured, because the App Clip's native iOS integration supports lock-screen push re-engagement that doesn't depend on that contact data existing at all.
StorePush was built around exactly this gap. When a shopper opens an App Clip and abandons before paying, a traditional store has no email to retarget and no phone number to text. StorePush uses the App Clip's native push capability to reach that same shopper on their lock screen, without ever collecting an address or number, and ties the resulting purchase back to the original invocation for revenue attribution.
Pro Tip: Test your recovery flow the same way you'd test checkout: invoke the App Clip, abandon deliberately at three different steps (cart view, payment sheet, confirmation), and confirm your recovery push fires correctly at each stage before you trust it in production. Our push testing checklist for App Clip cart recovery walks through the specific triggers worth validating, and our breakdown of App Clips' marketing impact digs into what actually moves conversion versus what just looks good in a deck.
When Should You Skip Building an App Clip Entirely?
Not every checkout flow needs an App Clip. If your task takes more than one or two screens to explain, or your users are already comfortable in a mobile browser, a well-built landing page or a Smart App Banner pointing to your existing site often gets you 80% of the benefit for a fraction of the engineering cost. App Clips earn their complexity when the task is truly instant and physical, a scan, a tap, a done.
Before committing engineering weeks to a full build, run a smaller test: put a QR code or NFC tag in front of real customers pointing to a simple mobile web flow, and measure completion rate. If that number is strong, the App Clip version will likely be stronger still, and you'll have justified the investment with data instead of a hunch.
— Lucas
Ready to see what a native App Clip checkout paired with lock-screen recovery does for your abandonment rate? Book a demo with StorePush and we'll walk through how it plugs into your existing storefront.