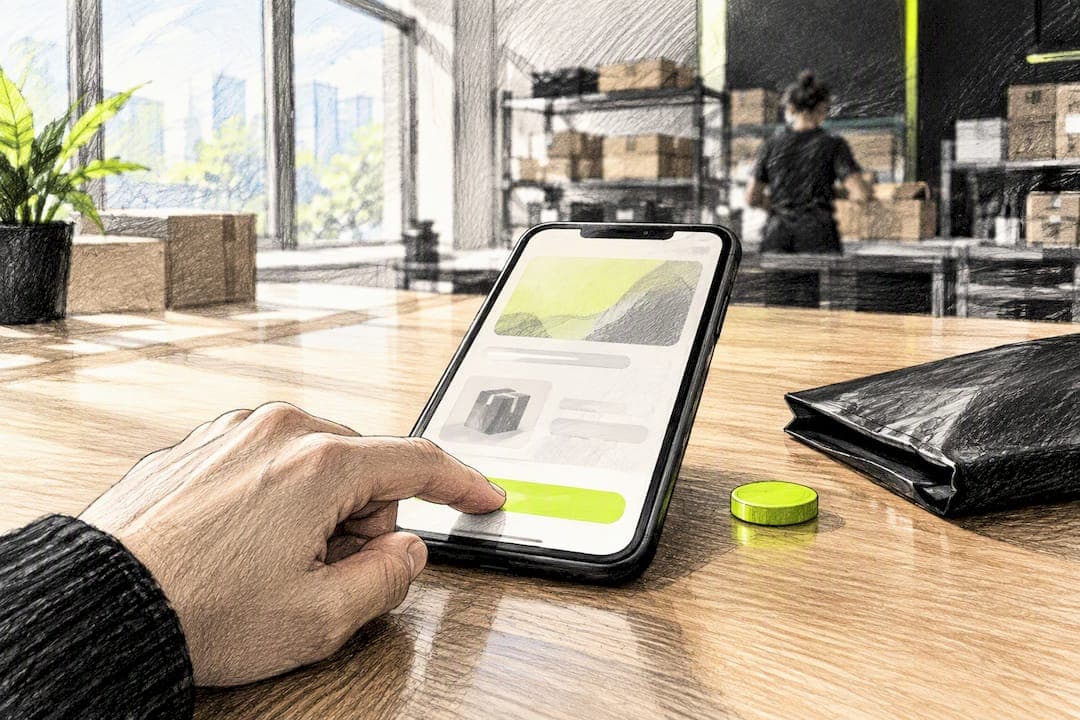
App Clips let you deliver a native, one-task checkout or micro-experience that mobile shoppers can launch instantly, without installing an app. For Shopify merchants, that means capturing shoppers who bounce from checkout in seconds, and for developers, it means designing tight, single-purpose flows rather than shrinking a full app. If you're evaluating whether Shopify app clips fit your store, the next section breaks down the platform's hard limits first.
TL;DR:
- App Clips are limited to 15 MB for physical invocations like NFC taps and up to 50 MB for link-based invocation after iOS 17, requiring careful asset management.
- Proper hosting and configuration of the apple-app-site-association file are critical to ensure App Clips launch correctly from links, with common errors caused by misconfiguration or delays.
- Using native Swift is generally better for simple, single-task clips, while React Native may cause size bloat and require dependency pruning for successful deployment.
- Asset optimization, such as using on-demand resources and system frameworks, is essential to keep the App Clip within size limits, especially for NFC and Code invocations.
- Creating a quick, low-consideration purchase experience that predominantly receives mobile ad or QR code traffic can significantly benefit from App Clips’ ability to drive fast, seamless checkouts.
Table of Contents
- What Are Shopify App Clips (And What Limits Shape Them)?
- How Do Universal Links and Domain Association Work?
- Where App Clips Fit Into Shopify's App Architecture
- Native Swift or React Native: Which Build Approach Wins?
- Testing and Diagnostics Before You Ship
- Cutting App Clip Size Without Cutting the Experience
- Turning Ad Traffic Into Checkouts With App Clips
- StorePush's App Clip Deployment Checklist
- When Do App Clips Actually Pay Off?
- Try StorePush's App Clip Checkout Without Rebuilding Your Stack
- Sources
- FAQ
What Are Shopify App Clips (And What Limits Shape Them)?
An App Clip is Apple's format for a lightweight, single-task version of an app. It's built to let a shopper complete one specific job, like checking out or tracking an order, without a full install. Apple's own documentation is explicit on this point: App Clips are not meant to be trimmed-down app demos. They're meant to do one thing fast.
That constraint isn't just philosophical. It's enforced by size limits that directly affect what you can build:
- 10 MB was Apple's original App Clip size cap when the format launched.
- 15 MB applies specifically to physical invocations, meaning App Clip Codes and NFC taps still fall under a tighter budget.
- 50 MB became the ceiling for digital invocations after Apple's iOS 17 update, giving developers far more room for link-based and QR-triggered experiences, according to WWDC23's App Clips session.
That split matters for Shopify integrations. A shopper tapping an NFC tag on in-store packaging hits the 15 MB ceiling, while a shopper clicking a link from Instagram gets the 50 MB budget. Your asset strategy has to account for both paths, not just the more generous one.
Invocation itself happens through several surfaces: universal links, Apple's default App Clip links, App Clip Codes, QR codes, NFC tags, Maps listings, Siri suggestions, Messages links, and in-app invocation APIs added in iOS 17. Once launched, an App Clip can send ephemeral notifications for a short window after last use and confirm a shopper's general location without requesting precise GPS permissions, useful for order pickup flows without asking for data you don't need.
How Do Universal Links and Domain Association Work?
Getting an App Clip to actually launch when a shopper taps a link is where most implementations quietly break. The mechanism behind it is the apple-app-site-association (AASA) file, a JSON document hosted on your domain that tells iOS which App Clip maps to which URL paths. Without a correctly served AASA file, tapping your link just opens Safari instead of the clip.
Here's the setup sequence that avoids the common failures:
- Host the AASA file at the right path. It needs to live at
/.well-known/apple-app-site-associationon your domain, served over HTTPS with no redirects. - Decide between a default link and a custom domain. Apple's default App Clip links, served from appclip.apple.com, let you skip hosting your own AASA file entirely for simpler experiences, per WWDC23. If your Shopify store needs branded URLs that match your storefront domain, you'll still need your own AASA configuration.
- Register advanced experiences only when you need more than one entry point. A single default experience handles most Shopify use cases, like a product page launching one checkout clip. Advanced experiences make sense when different URL paths need to trigger genuinely different flows, say, a product quick view versus a loyalty scan.
- Account for propagation delays. Apple's CDN can take time to pick up AASA changes. If a freshly deployed clip won't invoke, don't assume your code is broken. Check whether the association file has propagated first.
- Watch for silent misconfigurations. A missing
appIDfield, an incorrect bundle identifier, or a JSON syntax error will all cause the same symptom: the link opens a browser instead of your App Clip, with no error message pointing you to why.
Most invocation bugs trace back to one of these five steps, not to the App Clip's Swift code itself.
Where App Clips Fit Into Shopify's App Architecture
Shopify app extensions and App Clips solve different problems, and confusing them leads to wasted engineering time. App extensions, covered in Shopify's developer documentation, let you inject functionality into Shopify's own surfaces, like checkout UI blocks or admin panels. An App Clip lives outside Shopify's ecosystem entirely. It's a native iOS experience that talks to your store through APIs, not through Shopify's extension framework.
That distinction shapes how you build the checkout itself. Two patterns work in practice:
- Native checkout inside the clip. Use Apple Pay or a lightweight custom payment sheet, then create the order through Shopify's Admin API once payment succeeds. This is the pattern behind Apple Pay App Clip checkouts under 10 MB, and it keeps the shopper entirely inside the native flow.
- Lightweight order creation with a handoff. The clip captures intent (product, variant, quantity) and either creates a draft order or redirects to your full storefront or app for final payment. This works well when your checkout has complexity, like subscriptions or bundles, that doesn't belong in a stripped-down clip.
Discount codes and attribution need deliberate handling here, since App Clip sessions don't automatically inherit Shopify's usual browser-based tracking cookies. You'll want to pass UTM-style parameters or a custom attribution token through the invocation URL itself, then map that to Shopify's order metadata on creation.
One more thing to check before you build: verify Shopify Payments eligibility and prohibited-product restrictions for your store category. A native App Clip checkout doesn't bypass Shopify's payment compliance rules, and building a full flow around a product category that isn't eligible wastes real development time.
Native Swift or React Native: Which Build Approach Wins?
If your team already ships a React Native storefront app, reusing that codebase for an App Clip sounds efficient. In practice, it's the fastest way to blow past your size budget. Shopify's own engineering team ran into this directly while building an App Clip with React Native: hidden native dependencies pulled in by React Native modules inflated the binary well past what a single-task experience should weigh, forcing a manual, dependency-by-dependency pruning pass.
Their solution was a deliberately "scrappy" approach: design the clip's UI first, then pull in only the exact native modules that UI requires, rather than starting from the full app's dependency tree and trying to subtract from it.
That experience points to a practical rule of thumb:
- Using native Swift/SwiftUI is generally safer for simple clips like a single product view and checkout button, avoiding extra overhead.
- React Native can work if your team lacks Swift expertise and the UI complexity justifies code reuse, but plan for extra dependency auditing and size management.
- Structure the project around the clip, not the app. Build the App Clip target as its own scoped project with its own minimal dependency list, then extract shared business logic into a framework both targets import, rather than importing the entire app module.
- Defer heavy assets like product images or video to on-demand resources rather than bundling them, and be deliberate about CloudKit or keychain data if you need to hand off a shopper's session from the clip to the full app after install.
Pro Tip: Start your App Clip project with zero assumptions carried over from your main app's dependency list. Add each package back only when the UI you're actually shipping requires it. It's slower upfront, but far faster than debugging a 40 MB binary two weeks before launch.
Testing and Diagnostics Before You Ship
App Clips fail invisibly if you skip validation, since a broken universal link just opens a browser with no error. Apple's testing documentation for App Clips points to a specific tool built for this problem.
- Open iOS Developer Settings and run App Clips Diagnostics. This on-device tool checks your universal link association directly against your live AASA file and flags mismatches before you submit anything.
- Test both invocation types separately. A digital link working in Messages doesn't guarantee a QR-triggered App Clip Code will launch the same experience. Test each surface individually.
- Account for propagation delays during testing, not just during production deployment. A fresh AASA change can take time to reflect in diagnostics results.
- Register your default and any advanced experiences in App Store Connect, and consider the App Clip experiences API if you're managing multiple invocation URLs and want to update metadata without shipping a new binary.
- Run a final checklist before submission: confirm binary size against your invocation type's limit, confirm the clip does exactly one task with no dead-end navigation, and confirm every invocation surface you support actually launches the correct experience.
Cutting App Clip Size Without Cutting the Experience
Assets, not compiled Swift code, are almost always the biggest contributor to an oversized App Clip. That's the consistent finding from Apple's own engineering guidance on building light, fast App Clips, and it changes where you should spend your optimization time.
Start with measurement, not guesswork:
- Run Xcode's app size report on your archived build to see exactly which frameworks, assets, and resources account for the largest share of the binary.
- Remove unused frameworks entirely rather than just excluding them from the target. Unused linked frameworks still get bundled if they're referenced anywhere in your dependency graph.
- Prefer system frameworks over third-party equivalents whenever the functionality overlaps. A bundled networking library that duplicates what
URLSessionalready does is dead weight. - Use asset catalogs and app thinning so iOS delivers only the image variants a given device actually needs, instead of every resolution bundled into every install.
- Defer nonessential assets with on-demand resources, especially for anything a shopper won't see in the first few seconds of the experience.
The digital versus physical size distinction should drive what you bundle upfront. A clip invoked through a link (50 MB budget) can afford to bundle more of its checkout UI directly. A clip invoked through an App Clip Code or NFC tap (15 MB budget) needs a leaner initial bundle with more deferred loading.
Pro Tip: Treat your App Clip Code and NFC invocation path as the stricter design constraint, then let your link-based experience inherit that same lean build. It's easier to add polish to a fast experience than to shrink a bloated one after the fact.
Turning Ad Traffic Into Checkouts With App Clips
The real payoff of Shopify app clips shows up in mobile ad traffic, where every extra tap between an ad click and checkout costs you shoppers. Launching a clip directly from a social ad or an in-app browser skips the App Store detour entirely. The shopper taps, sees a product card, and can complete Apple Pay checkout in the same flow, no redirect to a mobile web checkout that half-loads before they give up.
A working flow generally looks like this: product quick view inside the clip, native checkout with Apple Pay, then an ephemeral notification if the shopper doesn't finish. That last piece is where App Clips get genuinely useful for recovery, not just first-touch conversion. The short-lived notification window after launch gives you a brief second chance to bring a shopper back without ever collecting an email or phone number, and StorePush's guide on lock screen recovery via App Clips walks through that pattern in more depth.
For measurement, track four checkpoints: clip view, checkout start, purchase completion, and recovered revenue from any follow-up notification. Merchants running paid social should also read whether App Clips actually move the needle for marketing before assuming every ad campaign benefits equally, since the format performs best when the product itself is a quick, low-consideration purchase.

On the operational side, don't skip two checks before launch: confirm your product category doesn't fall under prohibited-items restrictions, and confirm Shopify Payments eligibility covers your store, since a broken payment method inside a slick App Clip is worse than no App Clip at all.
StorePush's App Clip Deployment Checklist
Here's the sequence StorePush recommends for merchants building App Clip cart recovery, drawn from real setup guidance rather than theory.
- Register your App Clip experience in App Store Connect and confirm your AASA file resolves correctly on your live domain.
- Wire the checkout to Apple Pay or a lightweight payment sheet, then connect order creation back to your Shopify Admin API.
- Set up ephemeral notification hooks so a shopper who views a product but doesn't complete checkout gets a lock-screen nudge within the clip's active window.
- Connect attribution tracking so recovered orders get tagged back to the specific ad, QR code, or link that triggered the clip.
- Launch on a limited traffic segment first, watching invocation success rate and checkout completion before scaling spend.
StorePush's step-by-step setup guide covers the technical detail behind each step if you're implementing this for the first time. Post-launch, the signal to watch isn't just conversion rate. It's how many previously anonymous, non-converting sessions turn into recovered revenue without a single email address collected.
When Do App Clips Actually Pay Off?
Run this checklist before committing engineering time: is your product a quick, low-consideration purchase? Does meaningful traffic arrive through mobile ads, QR codes, or NFC touchpoints? Can your checkout genuinely fit in one screen?
If you answered yes twice or more, an App Clip is a high-return build. If your catalog needs configuration, subscriptions, or multi-step checkout, you're fighting the format's core constraint. My honest recommendation: prototype one experience against your single best-performing ad creative before committing to a full build, and let the invocation and completion data settle the argument for you.
— Lucas
Try StorePush's App Clip Checkout Without Rebuilding Your Stack
StorePush is the direct route to App Clip based cart recovery without needing an in-house iOS team to build one from scratch. Instead of writing your own AASA configuration, native checkout, and notification hooks, StorePush hands Shopify merchants a working App Clip flow that sends lock-screen push notifications to shoppers who never gave up an email or phone number, recovering purchase intent from a share of visitors traditional pop-ups and email capture never reach.
The platform offers a Free plan to test the setup with no upfront cost, and a Pro plan with a monthly fee plus commission on recovered revenue, so you pay mainly when it actually works. Start by checking StorePush's plans or book a live demo to see the App Clip checkout flow running against your own product catalog before you commit engineering time to a custom build.
Sources
Start with Apple's App Clips documentation for platform fundamentals, then review WWDC23's App Clips updates for size limits and default links. Shopify's app extensions documentation covers integration architecture. For CTA copy that fits a single-task experience, see this guide to crafting effective CTAs.
FAQ
How Much Does Shopify Take From a $20 Sale?
Shopify's fees depend on your plan and payment processor rather than a flat rate, so the exact cut varies by merchant. Check your specific plan's transaction fee structure directly on Shopify's pricing page rather than assuming a single universal percentage.
Does Kim Kardashian Use Shopify?
Several major direct-to-consumer beauty and shapewear brands run on Shopify, though specific celebrity-owned storefronts change platforms over time and aren't something this article can verify with certainty. What matters more for your build decision is that Shopify's infrastructure supports high-traffic launches at that scale, which is the same infrastructure your App Clip checkout would connect to.
What Is Not Allowed on Shopify?
Shopify restricts certain product categories and business types under its payments eligibility and prohibited items guidance, including specific regulated goods and services. Always verify your product category against Shopify's current policy before building a checkout flow, native or otherwise, around it.
Who Is Shopify's Biggest Competitor?
Shopify competes with several other e-commerce platform providers, though this article focuses on tools and techniques that work within the Shopify ecosystem specifically. The App Clip patterns, AASA configuration, and Shopify Admin API integration covered here are specific to building on Shopify's platform.
How Much Does StorePush Cost?
StorePush offers a Free plan at no monthly cost, and a Pro plan at $50 per month plus a 5% commission on revenue recovered through push-triggered purchases. The commission structure means the paid cost scales with actual recovered sales rather than being a flat fee regardless of results.